Introduction
Welcome to the new series, called “Genome Toolkit”. In this series, we will write a set of tools, that will help us find and build statistical data around any DNA, RNA, and Protein sequences. We will start by looking at the basic needs of any biologist, and write algorithms around their needs.
This will include:
- Searching for repeating patterns/subsequences, also called k-mers, in genomes
- Building and displaying graphs for GC content in a given sequence
- Using graph theory to assemble genomes
- And much, much more…
This is going to be our second, and much longer series, after the DNA Toolkit series. We will use DNA Toolkit code in our Genome Toolkit class. If you have not started that series, or have not yet finished it, I suggest you do before starting the Genome Toolkit series. In the DNA Toolkit, we have built a very basic set of tools to work with DNA/RNA sequences. We will be expanding the DNA Toolkit class as we develop the Genome Toolkit.
The main goal of this series is to build a set of algorithms, and wrap them into a usable bioinformatics tool, that is easy to use, modify, and extend.
This series is built on information from a lot of amazing sources, primarily a Bioinformatics course from University of California San Diego. You can find it on Coursera or in my “Getting started in Bioinformatics: A step-by-step guide” article here. Algorithms and solutions from a few good books were also included. In our series, we will try to combine a lot of good sources, and build a usable tool that can also be used as a part of your portfolio when applying for a job in the field of bioinformatics. Make sure you don’t just copy the code. Make sure you understand it, and can modify it to fit your needs, if needed.
We are going to follow a very basic structure, as we established in our DNA Toolkit series:
- Lesson article
- Lesson video
- GitLab repository with the code from videos
- Downloadable slides, presented in videos (included in GitLab repository)
As we build our first set of algorithms that are applicable in real world scenarios, we will see how we can integrate them into our “DNA Engine” GUI application. We will be building the “DNA Engine” in parallel within our “Bioinformatics Tools Programming in Python with Qt” series.
Alright. Now, that you know what to expect from the new series, let’s start by setting up our new working directory, creating the base class, and activating a virtual environment.
Part 1: Setting up the project
We will start by creating our project structure as follows:
- Folder with
genome_toolkit.pyandapplication.pyfiles - Basic
Genome Toolkitclass - Virtual environment (pipenv) for the project folder
- Follow the Python naming convention
Yes, we will start using classes. If you have never used classes, or need a refresher on how they work, Cory’s videos here can help with that. Classes will allow us to structure our project much better, as it will be much larger than the “DNA Toolkit” project. Many useful functions, like plotting, file reading/writing, and database access, can be added to the class as we progress.
Virtual environment (pipenv) will help to make sure our project is isolated from any other projects or software packages you are running on your computer. When you commit changes to your project, add various packages to it, and you want to make sure anyone else working with your code will be able to run it with no issues, you can do this by activating the virtual environment. You don’t have to use pipenv, just skip the pipenv part, and run your code as it is. But, I strongly recommend you do use pipenv. As always, Cory has an amazing video about pipenv here.
We will continue using VSCode/VSCodium code editor, as it is very light, does not have overwhelming amount of functionality, and it is very easy to set up (I have a video here). I strongly recommend using the exact same tools and programs your instructor is using, no matter what course or tutorials you are following. This will help you to avoid having issues with your code editor, and other tools, and you can just focus on writing code and learning new things. We had far too many cases when someone was using editors like PyCharm, Atom, or some other tool, and they could not even run the very first simple function. They would see no output, output that was unexpected, or just an error. It is hard, or even impossible, to help that person in that case, as everyone has a very different hardware/software setup on their local computers. You can, of course, use any tool or editor, as long as you understand what you are doing, and you can debug and solve issues on your own. For everyone else, I suggest using VSCode.
Alright, let’s do it!
- Create a new folder, and call it “genome_toolkit” (create it in the directory you usually keep your school/project files)
- Open that folder in your code editor (File ⇾ Open Folder) and add two files:
genome_toolkit.py– our main class file, where most of the core functionality will “live”application.py– will be used to test our new functionality and build a small demo application. - If you are not going to use virtual environments, you can skip this part.
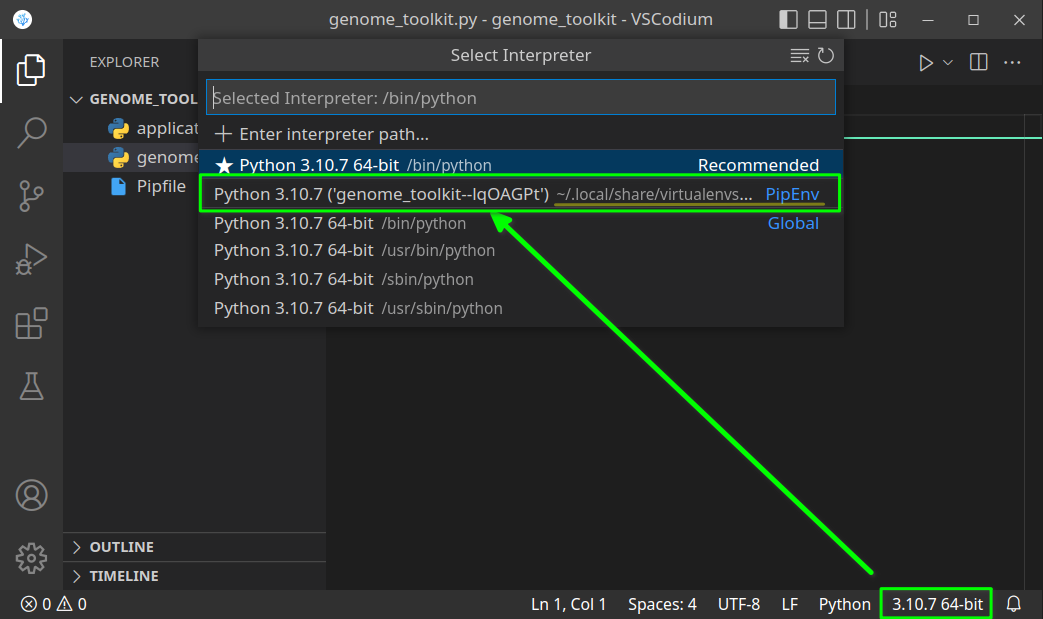
While in the editor, open the built-in Terminal (Mac:Cmd + ~, Windows/Linux:Ctrl + ~), confirm you are in the correct directory (terminal path matches your genome_toolkit directory path), and execute thepipenv shellcommand. You should see a✔ Successfully created virtual environment!message, and a newPipfilefile will also be added to our project. - In step 3, we have created a virtual environment, and it might not be selected by default. If it is not, let’s first close and re-open our VSCode editor and our project folder. Now we should be able to select the environment we created by clicking on the Python version in the bottom-right corner, and selecting the virtual one (note, you might have a different Python version, like 3.9 or 3.8, and that is just fine):
Python version should change to the one in our virtual environment:

All the steps, when executed correctly, should look something like this:
- Now, that we have created the project directory, and virtual environment activated, let’s just do a quick test to see if it works. Let’s print the “Genome Toolkit!” text from the
application.pyfile:
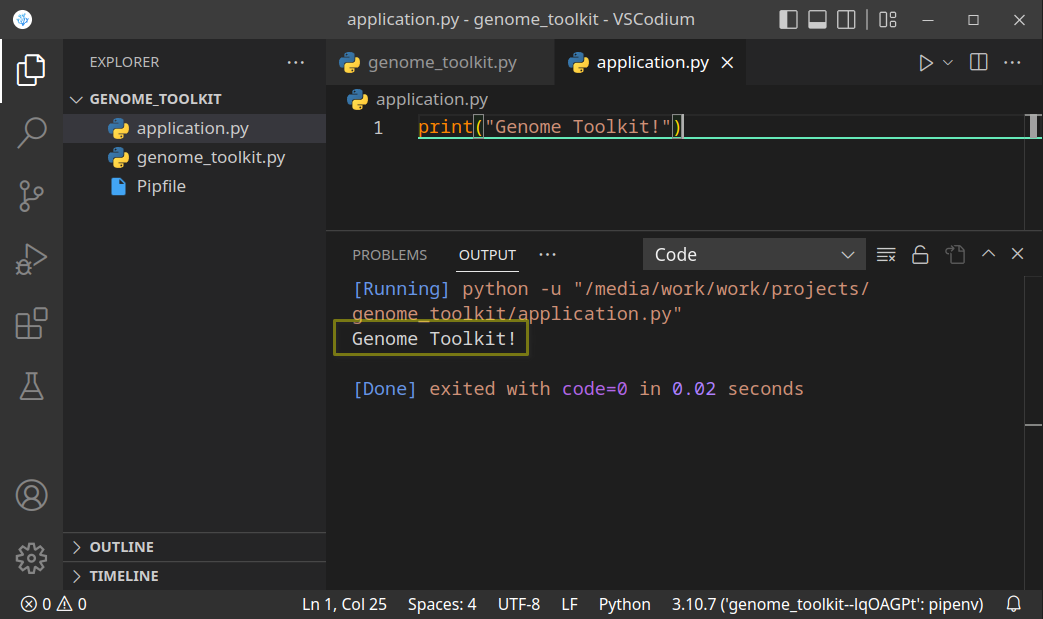
Save (Ctrl + S) the file, and run it. If you see the above result, it means our project is set up, and we are ready to start working on our code. You might see this message when you try running your code for the first time:

If you do, just select Yes. This will add autopep8 code formatter to your virtual environment. This tool will format and clean our code structure. A new file, called Pipfile.lock will be added to our project. This file will keep track of all packages we will use in our project
Part 2: Creating class structure
As I mentioned above, we will be using classes in this series, but don’t get discouraged. We will only use the minimal amount of code related to classes. Mostly we are doing this for better code structure and reusability. On the other hand, you have a chance to start learning and practicing classes, if you never used them before. I also bet, being an OOP (Object-Oriented Programmer) will increase your chances of getting a job with Python.
Let’s add our class to genome_toolkit.py file, and add a default constructor. Constructor is a function that is triggered every time we create an instance of a class. We will see how this works, in our next step:
class genomeToolkit:
    def __init__(self):
        print("Genome Toolkit initiated")
Now we need to test our base class, by importing the above file into our application.py, and create a test instance of that class:
from genome_toolkit import genomeToolkit

# Creating an instance of our genomeToolkit class
gt = genomeToolkit()
If we run our code now, we should see a “Genome Toolkit initiated” message. Just make sure the application.py file is active when you run code:

In the above example, we created a class, imported it into our application, and created an instance of that class. When the instance was created, on line 3 in the application.py file, it triggered the constructor which is on line 2-3 in the genomeToolkit class. If you are not very familiar with the concept of constructors and destructors, the above example should provide a basic example, and you can imagine how many interesting things we can do with that. Just a few examples: load a file automatically when we create an instance of our class, verify our DNA/RNA/Protein sequence when we create it, etc. We will be adding more functionality to that class as we develop our tool.
This is it for this article.
This is only the beginning. Now that we have our project configured, and base class created, we are ready to add our first simple, but powerful function. We have set up our project, and we will start adding a lot of cool functionality in our upcoming articles. This is exactly what we will do in our next article. The next articles will be much shorter, as we will focus on one algorithm at a time.
And as always, this article is available in a video from here: